xArm Typewriter
Overview
This is a project I pursued by myself while at the RDF Lab @ FIU. I was inspired by Stuff Made Here’s handwriting forgery robot (though, I do not use machine learning.) An application for this code + end effector includes quickly creating large, customizable label prints. This can be highly adaptive to work with a number of different instruments (pens, pencils, paint brushes, glue guns, razors) and can be used for different materials. An owner of a co-robot has a lot of flexibility for what they could utilize this program.
Idea Explained:
A user is able to use a keyboard to draw out characters/words with the xArm collaborative robot. The user will be able to select between a few fonts and can adjust the font size. Here is a video (which is speed up by 2x) of it taken in a prompt and drawing it out.
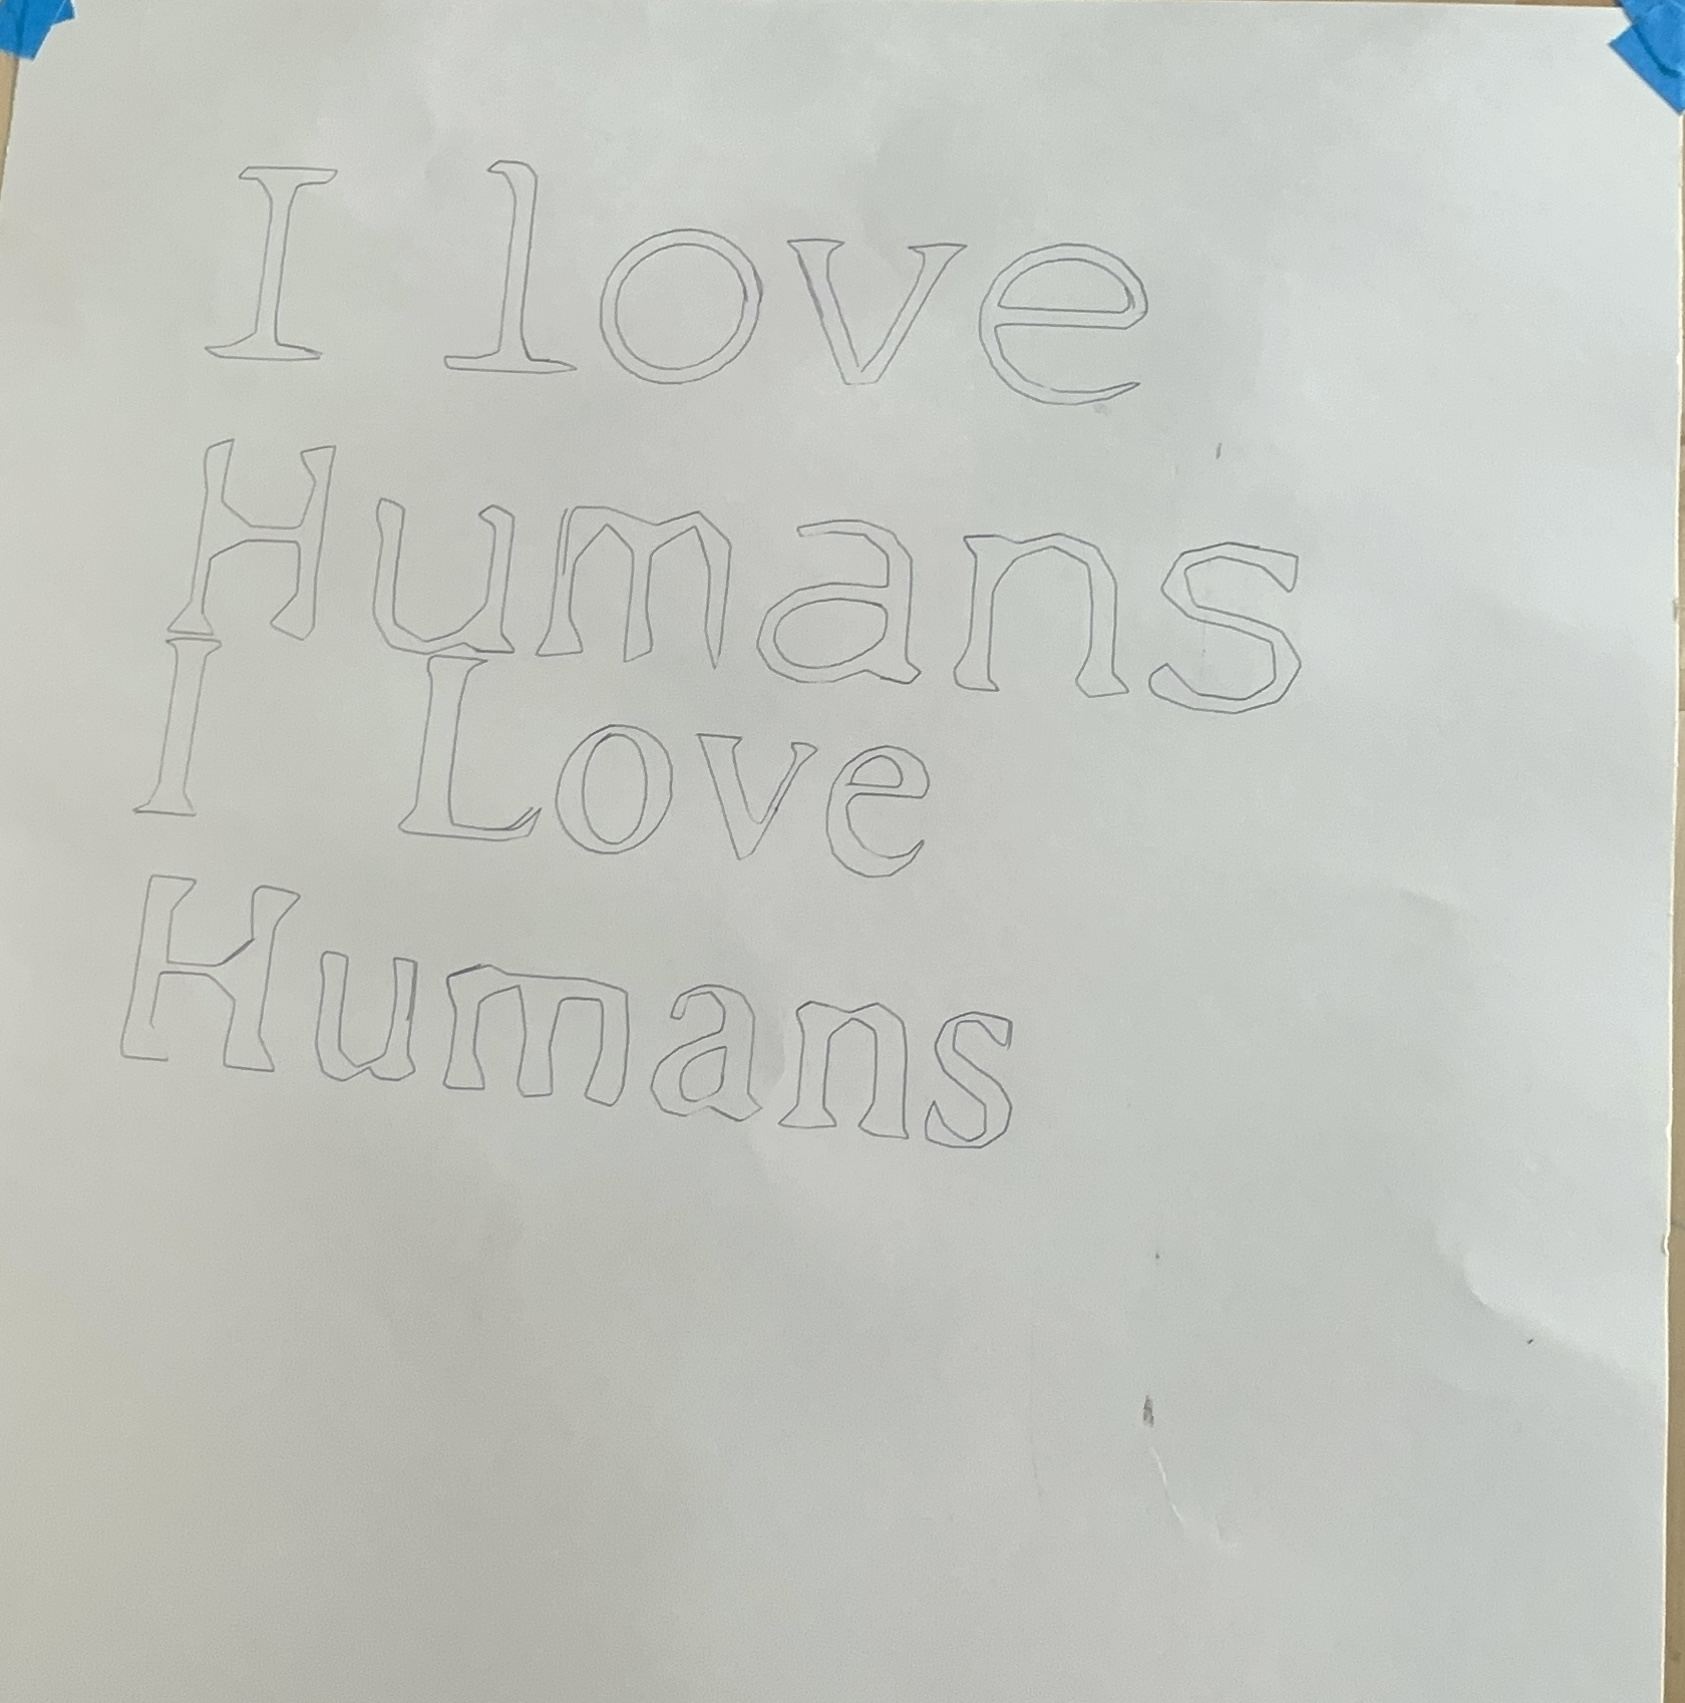

The following is a print created through long-exposure flash photography (light-writing). The video is sped up by 5x.

Download / Github Link / Explain Program Usage
Make sure you have the latest version of:
- Python
- Processing
- xArm Python SDK (make sure to install the library properly!)
- uFactory Studio.
- It is recommended you use Visual Studio Code as it makes it easy to navigate through any Python and csv files you will be using.
- If you will be creating your own fonts or designs, make sure you have Rhinoceros 3D installed.
Documentation
Creating Characters
Using Rhino, I created 2D-Characters outlines of the ASCII values 33 to 126. Using Grasshopper, I turned the characters into closed polylines, with each polyline containing 50 points (though this can be adjusted). A character may be made up of more than 1 polyline; for example, the letter O contains two polylines as two closed lines are required to draw it. The points from these polylines are exported into 1 CSV file.
Interpreting CSV
Using Processing, a software that provides visualization using Java, we can visualize the points the robot will follow when drawing out the letters. The CSV we created contains lines of xyz coordinates (though z=0). We first determine the font file we are using and initialize variables relating to the specific font (e.g. assigning characters with 3 curves to an array of 3-curve values). We then initialize a 3D-Array List of char[point][x-y-coords]. This array is populated with the font file we created, accounting for the configured variables.
Visualizing User Input
The Processing script continuously listens for user input. When the user inputs a valid character, the script prints the character to the screen accounting for room left on page/screen and progressing to a new line just like on a document. The corresponding points for the character are printed on screen. At the same time, a new CSV is being updated with translated xyz coordinates that will be used with the xArm6 robot.
xArm Drawing
A Python script is used to control the xArm. The script uses the xarm API and continuously waits for updates in the xArm-translated CSV file. It then brings the robot end effector to those coordinates with a preset pose. The robot then drags the pen along these coordinates. The robot is to re-draw the first few points of the polyline to ensure that the polyline is properly closed. Once finished with a line, the robot brings the tool up to make sure polylines don’t connect and then proceeds to draw the next polyline.
Pen Plotter End-effector
I adapted a design I found from Thingiverse to work with the writing tools I wanted, to fit my custom spring size, and to mount as an end effector. This modified design was created in Rhino and printed on a Prusa printer.
Process Table
|| Rhinoceros & Grasshopper| Processing|xArm| |-|-|-|-| |Input|ASCII String (char of values 33-126)|ASCII Key (from Keyboard), Font.CSV|Coordinates.CSV| |Geometry|Character Polyline (group made of many points)| Coordinates 3D Array {char#}(Point#)(x,y)|Line Path of connecting a certain number of points per character line| |Output| Font.CSV| Character Points Drawing on Screen, Coordinates.CSV | Drawing (Char Outline) through robot movement| | Coordinate Plane | x y z (z=0) | x y | x y z (z toggled for pen-up)|
Things to account for: This process will use 3 different coordinate systems. The Rhino Geometry needs to be converted from x,y,z to the appropriate x,y of processing script to the appropriate x,y,z of the xArm.
Creating Fonts w/ Rhino & Grasshopper
Very minimal walkthrough of creating a font of your own to be used with my program. In my code, I created the fonts laying flat on Y vs. X.
Open preset using millimeters (which makes aligning characters to the grid easier).
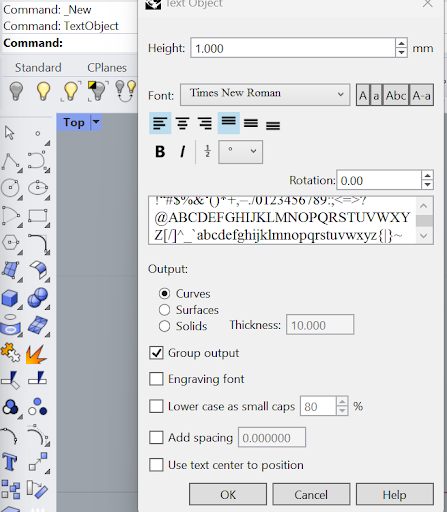
Call the TextObject command and put the characters of the ASCII values 33 to 126 in the textbox. Copy the characters below. Select a Font. Uncheck Group Output. Do not change any other settings. Select OK, and click your cursor on the origin.
If you want to include more characters or characters outside of these values, you will have to adjust my program to account for them.
1
 !“#$%&‘()*+,–./0123456789:;<=>?@ABCDEFGHIJKLMNOPQRSTUVWXYZ[/]^_`abcdefghijklmnopqrstuvwxyz{|}~
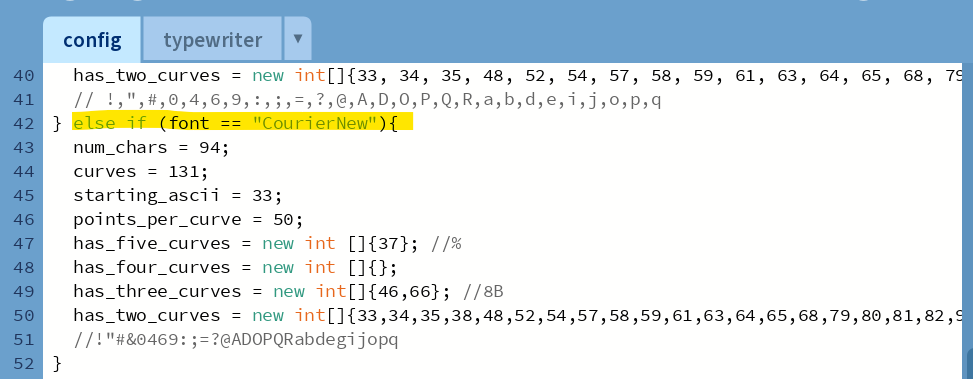
For each character, group all its components together, ex. Grouping the circle for the exclamation mark and the line for the exclamation mark. For each character, take note of if it uses 2, 3, 4, or 5 curves. Add an else-if statement in the processing script following similarly to the courierNew example:
Right-click to repeat the grouping for each element. This is a tedious process that is prone to mistakes, so be careful.
Use align command. Make sure grip snap is enabled (check the bottom right of the screen) so you can align it to the origin. Select left, and align it to the origin. Make sure the x and y axes are as shown (green up, red right.)

Type Grasshopper in the Command box.
In Grasshopper, go to the Parameters tab and add a Curve, Number Slider, & Panel. Go to the Curve tab and add a Divide Curve Block. Connect them as such:
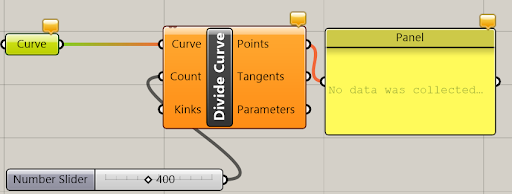
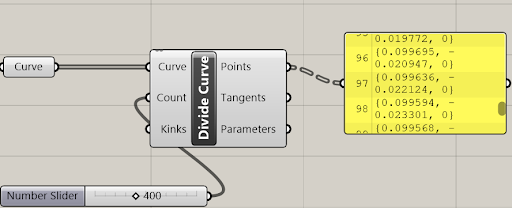
Right-click Curve and select “Set Multiple Curves.” Select all the Character curves that we put into Rhino. Edit the number slider to however many points you want (my default is 50) and make sure to edit my program config to account for that. Right-click the Panel and select “Stream Destination.” Save the file as font_name.csv (font_name should be your font). Make sure this file is placed in the directory of xArmTypewriter/Fonts. Then, right-click the panel again and press “Stream Contents.”
Note: the panel should have an x & y value, with the z set to 0.
Open up the processing script again. Make sure that the font is set the the same name as the csv file you created. Put in the name of the font (rather, the name of the font file you created excluding the file extension). Make sure you have setup the else-if statement with your font’s specifics as stated earlier.

Run the Processing script.. If weird characters come up when typing, try right-clicking our curve in Grasshopper and select “Reverse.” Then, right-click the panel and stream the contents again. You should be all set now!
